Archlinux Full Disk Encryption
Motivation
On a laptop, not having full disk encryption is quite a bad idea. What if your laptop is stolen? Everyone with only little computer knowledge and high enough malicious intent can access all your data.
This is why it is crucial to fully encrypt your laptop’s operating system.
Installation on Arch
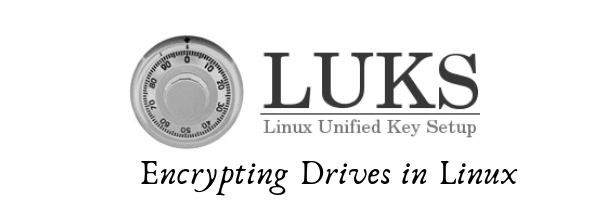
On ArchLinux and most other distributions, you are likely to use LUKS for that via dm-crypt.
This post will only cover the setup using a single encrypted partition, but a setup using multiple encrypted partitions isn’t that different.
Preparation
You start out normally, as you would with any other Arch install, but stop before formatting the partitions you created.
You instead run the following commands (as per Arch Wiki entry):
partitionname=[enter the partition name here (like sda2 or nvme0n1p2)]
cryptsetup -v luksFormat /dev/$partitionname
cryptsetup open /dev/$partitionname root
mkfs.ext4 /dev/mapper/root
mount /dev/mapper/root /mnt
echo 'works' > /mnt/test
umount /dev/mapper/root
cryptsetup close root
cryptsetup open /dev/$partitionname root
mount /dev/mapper/root /mnt
cat /mnt/works
rm /mnt/works
What this’ll do is set up a LUKS encrypted partition, open and mount the decrypted content to /dev/mapper/root and then put an ext4 file system onto it.
It will then mount it to /mnt and unmount, close and then redecrypt and remount it to /mnt, so as to test that it works.
It will print out works if everything worked out as intended
Important note: You don’t want to encrypt the boot partition. That is to my knowledge not possible or at least very hard to do.
Initcpios
You need to then proceed normally in the arch install, until you reach the step of generating the initramfs.
Be sure to install plymouth during pacstrap as well, or manually do so after.
We will need to adjust the config. Open /etc/mkinitcpio.conf in your favourite text editor (nvim)
Under the uncommented HOOKS=(...) line, you want to replace it with this:
HOOKS=(base systemd autodetect microcode modconf kms keyboard sd-vconsole plymouth block sd-encrypt filesystems fsck)Go ahead and generate the new initramfs using mkinitcpio -P.
Bootloader
I will be using grub, but this works similarly for all bootloaders.
We first have to determine the UUID of the encrypted device.
For this purpose, run cryptsetup luksDump /dev/$partitionname (or replace $partitionname with its name if you haven’t created the variable) and take note of the UUID.
Open /etc/default/grub using your favourite editor.
In the file, you want to replace the GRUB_CMDLINE_LINUX* lines with the following:
GRUB_CMDLINE_LINUX_DEFAULT="loglevel=3 quiet splash systemd.show_status=auto rd.udev.log_level=3"
GRUB_CMDLINE_LINUX="rd.luks.name=[device UUID you noted before]=root root=/dev/mapper/root"
Then, regenerate the grub.cfg file using grub-mkconfig -o /boot/grub/grub.cfg.
Display Manager
To enable automatic login and automatic keyring unlock with your LUKS password, you can edit the /etc/gdm/custom.conf file, as GDM is the only DM that supports this feature set as of writing this article.
In that file, you want to add the following lines under the [daemon] section:
AutomaticLogin=[your username]
AutomaticLoginEnable=true
If you are using GNOME, you are done, if not, create a file under /var/lib/AccountsService/users/[your username] with the following content:
Session=[your preferred session, e.g. hyprland]
XSession=[same as above]
That will stop GDM automatically starting GNOME instead of what you actually want
Final thoughts
And that’s it. Congratulations, you now have full disk encryption on your device!